[to note I struggled a bit with the colour balance on the photos so the green terrain board keeps changing but I have tried to get it so the red or grey looks right - just in case you were wondering why I kept taking photos on a different background! Must be something to do with close up and strong colour - or just being a bit rubbish at photos!]
Red roofs
Start with a coat of Vallejo red leather (818). Not only a decent tone but also has a very matt finish too.
This is a J&R 6mm Municipal building I used for Gemioncourt:


Next a wash with Games Workshop Agrax Earthshade. Really brings out the individual tiles.
A piece of the Leven L-shaped barn from La Haye Saint:


A J&R 6mm machine shop - their range are great for white washed buildings being made of plaster. Their models don't have individual tiles showing in the way Leven do but the wash still brings out the ridge effect on the roofs.


Finally a dry brush of Vallejo light brown (929). Not too heavy as it is just to bring out the detail rather than affect the colour.
Couple of barns from Leven La Haye Sainte:


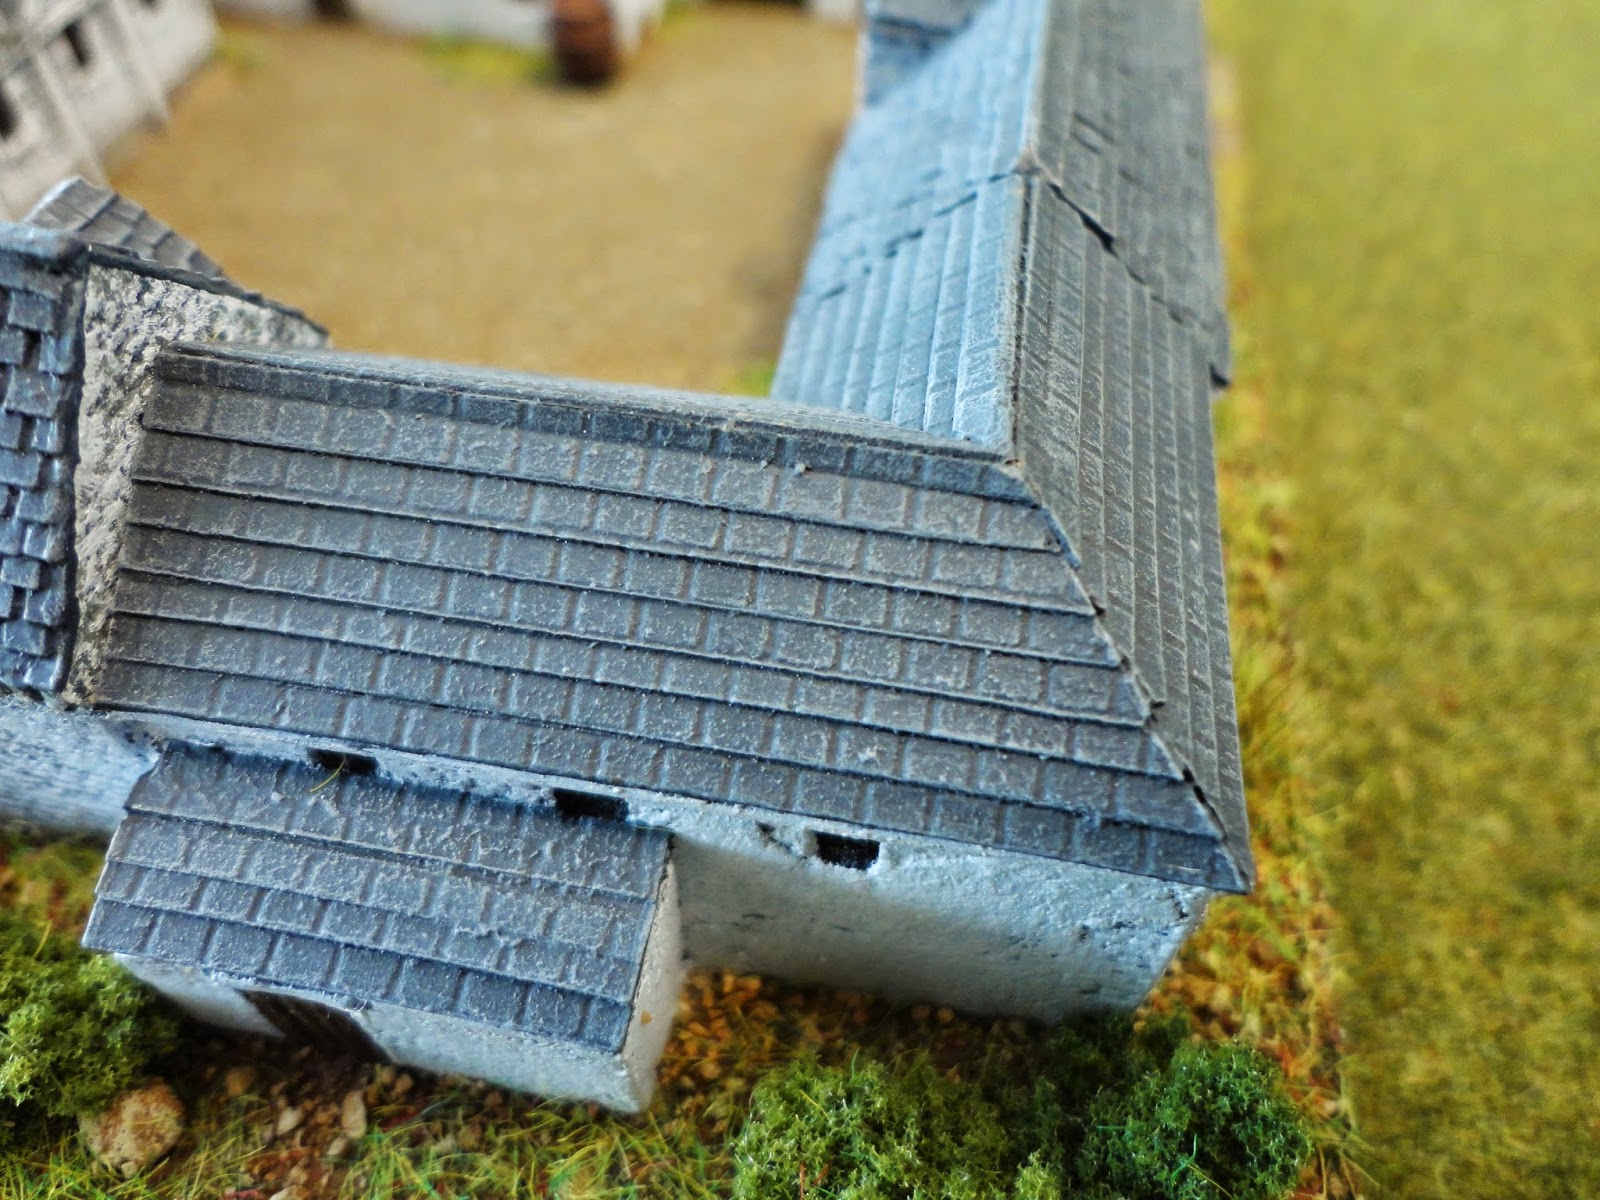
First paint Vallejo dark grey (994). As the base colour is dark I don't do a wash and rely on the two stage dry brush to bring out the detail.
First is a Leven building from Mont St Jean and the second from La Haye Saint (cut in half). I have shown both as the level of raised detail differs which affects how you dry brush.


Then a dry brush using Vallejo neutral grey (992). Reasonably heavy but depending on the level of raised detail it has to be gradually built up or can be quite heavy from the start. So the bit of the La Haye Sainte barn does not have the same amount of raised detail and the tiles are all uniform so less bits stick out to catch the paint and so you need to take most of the paint off the brush and build up with several dry brushes otherwise you just get big splodges (the technical term!) on parts of the roof.


The building from Mont Saint Jean (and another barn I got on ebay, not a main make) have very prominent tiles with an uneven (i.e. not level) finish so plenty of bits to catch the paint so you can give a much heavier dry brush from the start - still taking a lot of the paint off the brush but much less need to be as careful than a smoother roof.


Finally a dry brush of Vallejo light grey (990). Again same approach to dry brushing as for the neutral grey above.

For more examples of finished items - and generally better photos! - see the Waterloo buildings I have done so far are:
Quatre Bras
La Belle Alliance
Papelotte
La Haie (La Haye)
La Haye Sainte
Hougoumont (version 1)
Gemioncourt
Fichermont
Ferme du Caillou
and here is a more genersal tutorial for painting Waterloo farms.
Also, for an easy way to see all my Napoleonic posts check out the Napoleonic summary page.
For something a bit different check out my recently published 100th post.
No comments:
Post a Comment